This is a very short guide on how to create a small home web server using nothing but your home router, a free cloudflare account and a Raspberry Pi 4 with only 16 gigs of SD storage
Got everything? Then you’re ready to go 😉
The Raspi serves two purposes in this case. It is my web server as well as my dynamic dns resolver.
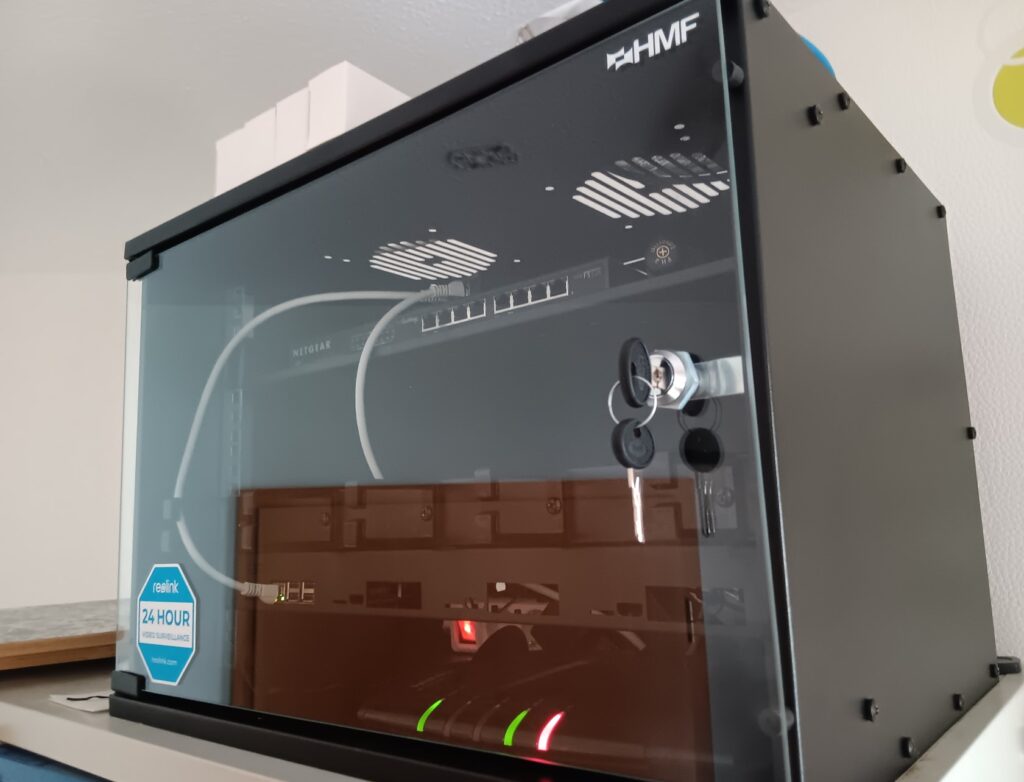
This is my chaotic home rack. May I steer your attention toward the excellent cable management?
You are currently right here. In my home network. Fun, right?
This is how I host my resumé
The setup is very easy. You want to register your domain at whatever provider you choose. The only prerequisite is that you have control over your authoritative DNS-Record. You want that to point to your assigned Cloudflare DNS servers.
Follow this official cloudflare guide.
Once Cloudflare is “in control”, you can use the API to dynamically update your A record (for example) and choose to proxy it. It’s always a smart idea to conceal your public IP.
Just be aware that anything except HTTP(S) traffic will not survive the proxying. At least not using the free plan, anyway.
This repo (credit to user K0p1-Git) does the job for you, but in theory all you’d need to do is pull your public IP and then build a correct Cloudflare API call with that information.
To do this, you will also need your Cloudflare zone id + API token. You can find them in your CF-Dashboard under “Overview” in the right hand column.
Next, add a cronjob to execute that script once every 5-10 minutes and you should be golden. Realistically that is enough availabilty for a home setup.
Be sure to first create the record you’re trying to modify in Cloudflare, the above script does not check for a record, it will simply attempt to update it. If it does not exist, your API call will fail.
Finally, when your dynamic dns is running, just follow this guide if you use Ubuntu Server to get WordPress running.
You’ll need to open your firewall to external requests on port 443 on your Raspi, of course. Your Apache2 wordpress.conf (/etc/apache2/sites-available/) should look something like this:
<VirtualHost *:80>
        ServerName domain.tld
        ServerAlias alias.domain.tld
        Redirect permanent / https://domain.tld/
</VirtualHost>

<VirtualHost *:443>
        SSLEngine on
        SSLCertificateFile /path/to/pubkey.pem
        SSLCertificateKeyFile /path/to/priv.key

        ServerAdmin [email protected]
        ServerName domain.tld
        ServerAlias alias.domain.tld

        DocumentRoot /path/to/wordpress
        <Directory /path/to/wordpress>
                Options FollowSymLinks
                AllowOverride Limit Options FileInfo
                DirectoryIndex index.php
                Require all granted
        </Directory>

        <Directory /path/to/wordpress/wp-content>
                Options FollowSymLinks
                Require all granted
        </Directory>

        <Directory /path/to/wordpress/wp-admin>
                Require ip 192.168.0.0/16
                Options FollowSymLinks
        </Directory>
</VirtualHost>
My config has a permanent redirect set up to the https host, as well as access restriction for the admin portal. One thing to consider is that you will never get access to the admin page, if your client tries to route to the web server via cloudflare proxy. You should therefore edit your local machine, so that it resolves your domain to the true IP address (e.g. by adding a hosts entry in Windows)
Don’t forget to run the followingsudo a2ensite wordpress
sudo a2dissite 000-default
sudo a2enmod rewrite
sudo a2enmod ssl
sudo service apache2 restart
once you’re done.
It’s a simple, cheap way to have a small web presence.